
 0
 0
You may be able to keep your TV cabinet and tabletop UST projector in their current positions, but only if the projector’s placement chart and the exact screen drawing match the intended image size and deployed screen position. Before buying a wall-mounted motorized UST ALR screen, check cabinet dimensions, projector position, the lower image edge, the complete housing and the mounting layout.
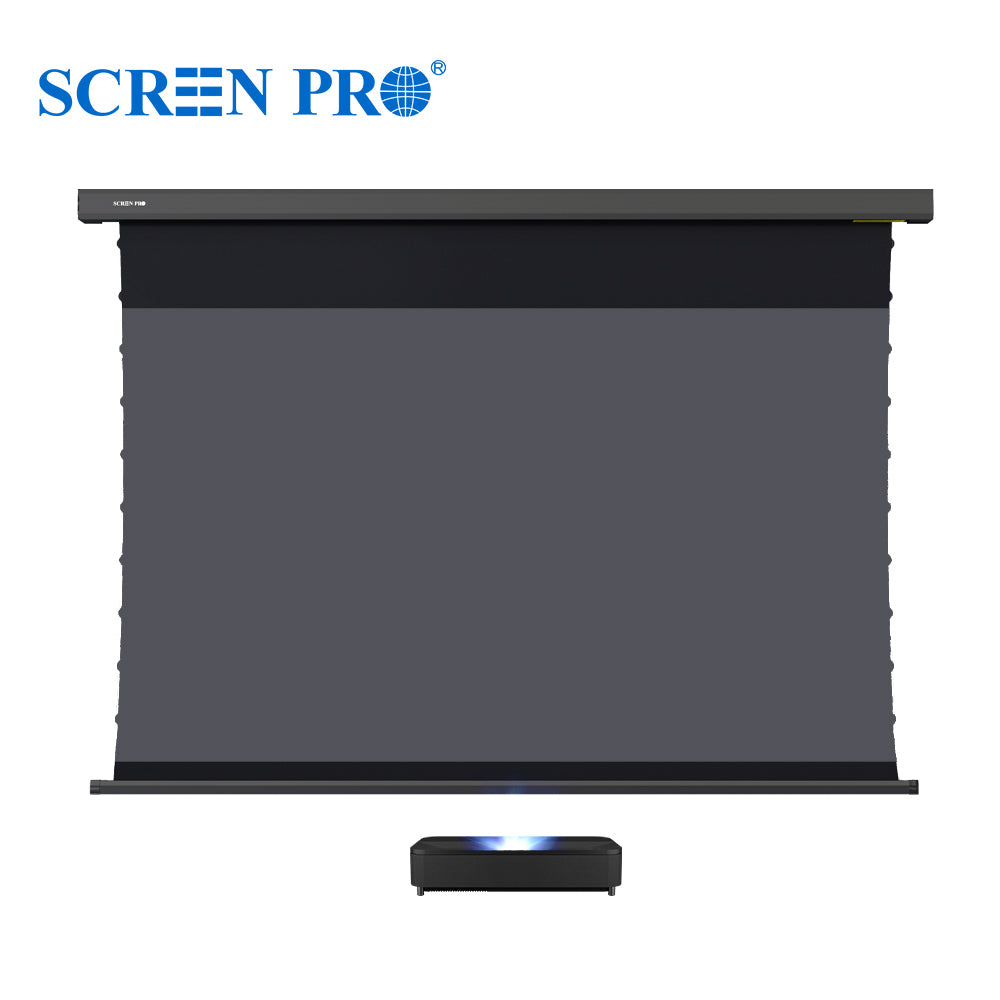
SCREEN PRO AJ motorized UST drop-down screen. Product illustration; projector shown for placement reference.
1. Measure to the deployed screen, using your projector’s reference points
Start with the installation guide for your exact projector model and chosen image size and aspect ratio. Follow the measurement reference points in that guide rather than automatically measuring from the lens.
The wall is not necessarily the screen surface: the deployed material may hang forward of it. Check both the horizontal placement and vertical offset against that actual screen position. Keep the lower edge of the visible image separate from the housing and bottom bar when comparing drawings.
2. Check cabinet clearance and wall mounting separately
Record the cabinet’s height, width, usable top depth and distance from the wall. Include the space needed for projector cables and the ventilation clearance specified by its manufacturer.
Then confirm the screen’s complete case width and depth, bracket positions, mounting height and deployed travel. Housing width is not viewing width or drilling-hole spacing. Check that the descending screen and bottom bar clear the cabinet, and that objects on the cabinet do not obstruct the projected light path. Have the installer confirm suitable fixings for the wall and exact screen.
3. Select the matching AJ configuration
The SCREEN PRO AJ Series is a wall-mounted motorized tab-tension UST ALR drop-down screen. For a tabletop UST projector below the image, check the matching Front Projection configuration and request the drawing for your selected size and housing color.
Do not reuse mounting-hole positions from another size, color or projector arrangement without confirmation. Also confirm the available drop, power-cable position and control requirements for the exact unit.
4. Check light and seating without assuming ALR solves everything
A directional UST ALR surface does not guarantee identical brightness at every seat or rejection of light from every direction. Keep direct sunlight off the screen and confirm the correct surface orientation for the projector position. Choosing a drop-down structure alone does not establish better ambient-light rejection.
What if the existing positions do not match?
Keeping the cabinet may still require moving the projector on its top, changing the target image size or adjusting the screen installation. If the confirmed geometry or clearance does not work, compare another layout before ordering. A screen’s housing fitting on the wall does not prove that the projected image will fit.
Send your measurements before ordering
Use SCREEN PRO’s setup consultation to share the exact projector model, desired image size and aspect ratio, cabinet measurements, current projector position and photos of the intended wall. Request the matching AJ drawing and confirm the full configuration before drilling or buying.
https://screenproscreens.com/
SCREEN PRO